This tutorial uses the Label Image API. See the docs, live demo, and pricing.
Every digital platform that hosts user-uploaded images faces the same challenge: how do you organize, search, and moderate millions of photos without a small army of human reviewers? The answer is automated image tagging. An image labeling API analyzes a photograph and returns a structured list of descriptive labels, each paired with a confidence score, enabling you to categorize content at scale. Whether you manage a digital asset library, run an e-commerce storefront, or build accessibility tools, automated labeling turns unstructured visual data into searchable, filterable metadata in milliseconds. In this tutorial, you will learn how to integrate the Label Image API into your applications using cURL, Python, and JavaScript, and you will see how to put the results to work in real-world production scenarios.
Why Use an Image Labeling API?
Manually tagging images is slow, inconsistent, and impossible to scale. An AI-powered labeling API solves these problems while opening up new capabilities that manual workflows simply cannot match.
- Speed and scale. A single API call processes an image in under a second. You can label thousands of images per hour without hiring additional staff or building internal ML infrastructure.
- Consistency. Human taggers disagree with each other and with themselves over time. An API applies the same model to every image, producing deterministic and reproducible labels that make downstream filtering and search far more reliable.
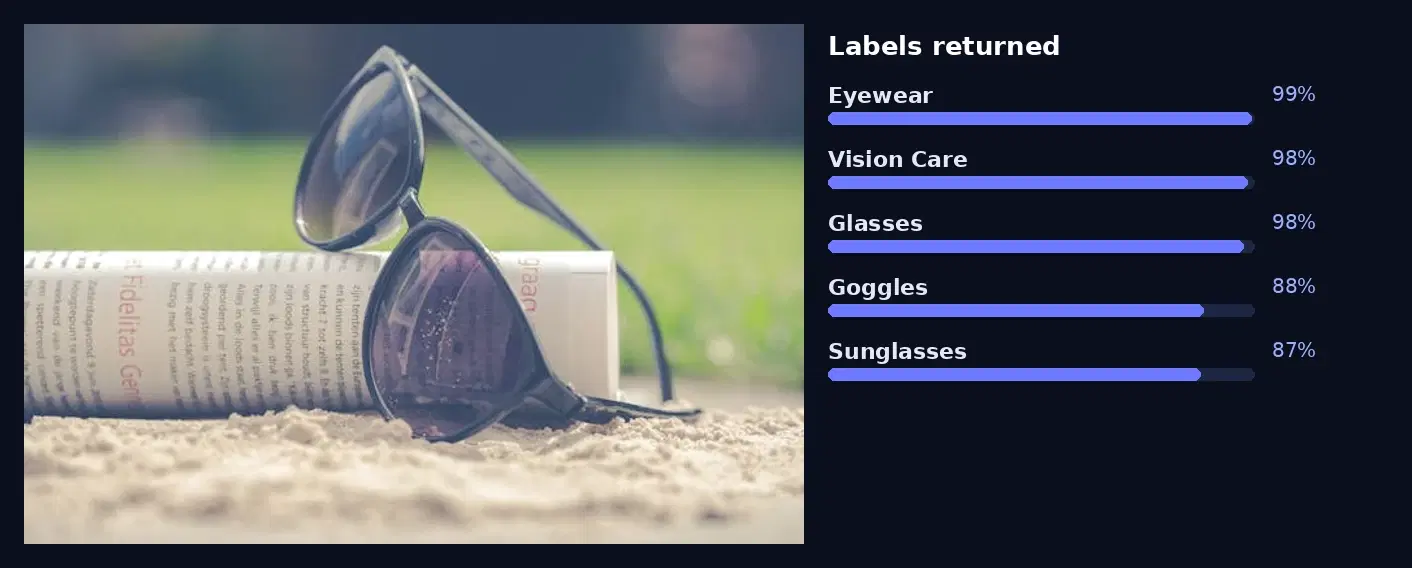
- Rich, multi-label output. Unlike simple classification that assigns a single category, the Label Image API returns multiple labels per image, each with a confidence score. A single beach photograph might return "Ocean", "Sand", "Sunset", "Palm Tree", and "Vacation", giving you far more metadata to work with.
- Zero ML expertise required. You do not need to collect training data, train a model, or manage GPU servers. The API handles all of the computer vision complexity behind a single REST endpoint, so your team can focus on building features instead of maintaining models.
Getting Started with the Label Image API
The Label Image API exposes a single endpoint that accepts either an image URL (sent as form-encoded data) or a direct file upload (sent as multipart form data). The response contains a list of detected labels, each with a human-readable description and a confidence score between 0 and 1. Here are working examples in three languages covering both input methods.
cURL
To label an image by URL, send a form-encoded POST request with the url parameter:
curl -X POST \
  'https://label-image.p.rapidapi.com/detect-label' \
  -H 'x-rapidapi-host: label-image.p.rapidapi.com' \
  -H 'x-rapidapi-key: YOUR_API_KEY' \
  -H 'Content-Type: application/x-www-form-urlencoded' \
  -d 'url=https://example.com/photo.jpg'
To upload a local file instead, use multipart form data with the image field:
curl -X POST \
  'https://label-image.p.rapidapi.com/detect-label' \
  -H 'x-rapidapi-host: label-image.p.rapidapi.com' \
  -H 'x-rapidapi-key: YOUR_API_KEY' \
  -F 'image=@/path/to/local-photo.jpg'
Python
The Python example below demonstrates both approaches. The URL method uses form-encoded data, while the file upload method uses multipart form data. Both iterate through the returned labels and print each description alongside its score.
import requests

API_URL = "https://label-image.p.rapidapi.com/detect-label"
HEADERS = {
    "x-rapidapi-host": "label-image.p.rapidapi.com",
    "x-rapidapi-key": "YOUR_API_KEY",
}

# --- Option 1: Label an image by URL ---
response = requests.post(
    API_URL,
    headers={**HEADERS, "Content-Type": "application/x-www-form-urlencoded"},
    data={"url": "https://example.com/photo.jpg"},
)
data = response.json()

for label in data["body"]["labels"]:
    print(f"{label['description']:20s} {label['score']:.2f}")

# --- Option 2: Upload a local file ---
with open("local-photo.jpg", "rb") as f:
    response = requests.post(
        API_URL,
        headers=HEADERS,
        files={"image": ("local-photo.jpg", f, "image/jpeg")},
    )

data = response.json()

for label in data["body"]["labels"]:
    print(f"{label['description']:20s} {label['score']:.2f}")
JavaScript (fetch)
The following example uploads a local file using the Fetch API with a FormData object. This pattern works in both browser and Node.js 18+ environments.
// Browser example: file comes from an <input type="file"> element
const fileInput = document.querySelector('input[type="file"]');
const file = fileInput.files[0];

const formData = new FormData();
formData.append("image", file);

const response = await fetch(
  "https://label-image.p.rapidapi.com/detect-label",
  {
    method: "POST",
    headers: {
      "x-rapidapi-host": "label-image.p.rapidapi.com",
      "x-rapidapi-key": "YOUR_API_KEY",
    },
    body: formData,
  }
);

const data = await response.json();

// Display each label and its confidence score
data.body.labels.forEach((label) => {
  console.log(`${label.description}: ${(label.score * 100).toFixed(1)}%`);
});
Understanding the Response
Every successful request returns a JSON object with a statusCode and a body containing a labels array. Each element in the array is an object with two fields:
{
  "statusCode": 200,
  "body": {
    "labels": [
      { "description": "Nature", "score": 0.97 },
      { "description": "Mountain", "score": 0.94 },
      { "description": "Sky", "score": 0.91 },
      { "description": "Landscape", "score": 0.88 },
      { "description": "Cloud", "score": 0.74 }
    ]
  }
}
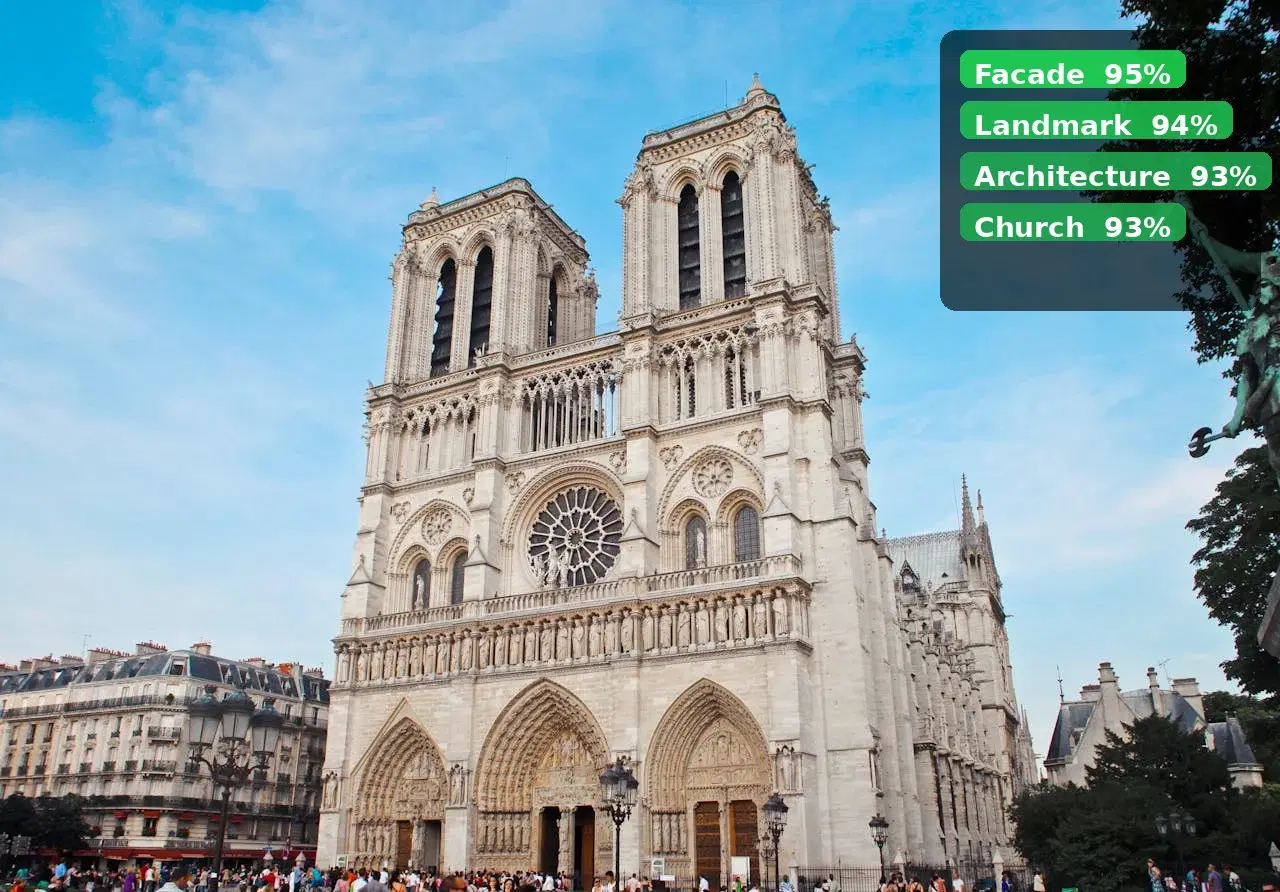
The description field is a human-readable string that describes a concept, object, or scene detected in the image. Labels range from broad categories like "Nature" and "Outdoors" to specific objects like "Mountain" and "Cloud". A single image typically returns five to fifteen labels, ordered by descending confidence.
The score field is a floating-point number between 0 and 1 that represents the model's confidence in that label. A score of 0.97 means the model is extremely confident; a score of 0.55 indicates a weaker signal. How you filter these scores depends on your use case. For auto-tagging a media library, you might keep everything above 0.7 to ensure quality. For a content moderation pipeline where recall matters more than precision, you might lower the threshold to 0.5 so you catch borderline cases. The key is to choose a threshold that balances the number of tags per image with the accuracy your application demands.
From Labels to Alt Text
One of the most common uses of labels is generating accessibility alt text. Filter to the confident labels and stitch them into a sentence:
labels = [l["description"] for l in data["body"]["labels"] if l["score"] >= 0.7]
alt_text = "A photo featuring " + ", ".join(labels[:5]).lower()
print(alt_text)

# Real output on a product photo:
# A photo featuring dress shoe, oxford shoe, leather
It is not a substitute for a human-written description on your key pages, but it beats an empty alt attribute across a library of thousands of images, and it gives screen-reader users real context.
Real-World Use Cases
Automated image labeling is not a niche capability. It sits at the center of nearly every modern image workflow. Here are four production scenarios where the Label Image API delivers immediate, measurable value.
Digital Asset Management and Media Libraries
Media companies, stock photography platforms, and internal marketing teams accumulate vast libraries of images that are only useful if they are searchable. By running every new upload through the Label Image API, you can automatically populate metadata fields with relevant tags like "cityscape", "sunset", "portrait", or "food". Users can then search for images using natural-language queries that match these labels, dramatically reducing the time spent hunting for the right asset. When combined with object detection, you can add even richer metadata that includes not just what is in the image but where each object is located.
E-Commerce Product Cataloging
Online marketplaces that accept product images from thousands of sellers often receive photos with incomplete or inaccurate category information. The Label Image API can automatically suggest product categories based on the visual content of the image. A photo of a red sneaker on a white background might return labels like "Footwear", "Sneaker", "Red", and "Athletic Shoe", which can be used to auto-populate category fields, suggest relevant search keywords, or flag images that do not match the seller's stated product category. This reduces manual review time and improves catalog consistency across the platform.
Accessibility and Automatic Alt Text
Web accessibility standards require meaningful alt text for every image, but manually writing descriptions for thousands of images is impractical. The Label Image API provides a foundation for generating alt text automatically. By combining the top labels returned by the API, you can construct descriptive strings like "A photograph featuring nature, mountains, sky, and clouds" that screen readers can use to convey the content of an image to visually impaired users. While these generated descriptions may need human review for nuance, they are vastly better than empty alt attributes or generic placeholders like "image.jpg". Pair this with a background removal pipeline to isolate subjects before labeling for cleaner, more focused tag sets.
Content Moderation Pipeline
Platforms that accept user-generated content need to flag inappropriate or off-topic images before they reach other users. The Label Image API can serve as the first layer in a multi-stage moderation pipeline. If an image returns labels associated with violence, explicit content, or other policy violations, it can be automatically routed for human review or blocked outright. Because the API returns confidence scores, you can define different actions at different thresholds: auto-approve images where no flagged labels exceed 0.3, queue for review when flagged labels score between 0.3 and 0.7, and auto-block when any flagged label exceeds 0.7. This tiered approach reduces the volume of images that human moderators need to review while keeping false positive rates manageable. One caveat: image labeling returns general concepts, not a safety taxonomy, so for nudity, violence, drugs, or hate-symbol detection specifically, a purpose-built content moderation API is the right tool, with labeling layered on top for categorization.
Tips and Best Practices
Choose the Right Confidence Threshold
Start at 0.7 for user-facing tags and 0.5 for internal analytics, then tune. Raise the cutoff if you get too many irrelevant tags, lower it if important labels are missed. Log every label and score the API returns, even those below threshold, so you can re-analyze historical data if you change the cutoff later.
Optimize Image Quality and Resolution
Send clear images of at least 640 pixels on the shortest side. Blurry, tiny, or heavily compressed images produce noisier labels. There is no benefit to a 50-megapixel raw file either: resize oversized images down to around 1200 pixels on the longest side to cut upload time and bandwidth without sacrificing label quality.
Cache Labels to Avoid Redundant Calls
Hash each image and cache its labels so you never pay twice. The same product image often appears across category pages, search results, and recommendation carousels. Store the labels alongside the file hash in your database. This matters most for e-commerce, where one image can be referenced hundreds of times a day.
Combine Labels with Other Vision APIs
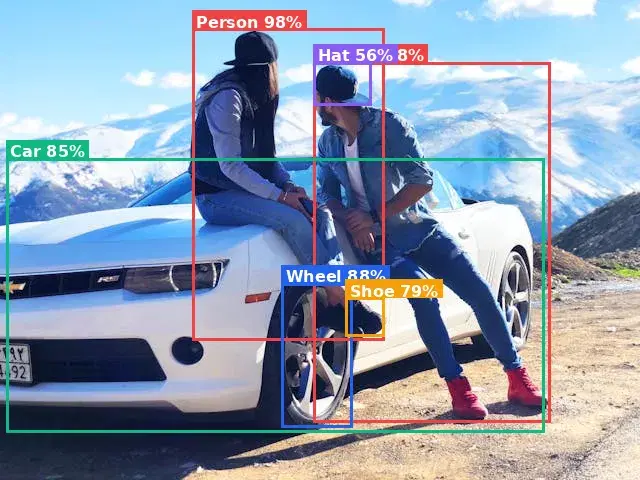
Labels give you the "what"; pair them with object detection for the "where." Chain the Label Image API with object detection to get bounding boxes for each item. The combination powers visual search, automated cropping, and scene graphs that describe both content and the spatial relationships between elements.
Handle Errors and Empty Results Gracefully
Expect empty results and plan a fallback. Blank images, abstract art, extreme texture close-ups, and heavily distorted photos can return an empty or very short labels array. Show a message like "No tags could be generated for this image" and route those to a manual review queue. Add standard backoff retries for rate limits (429) and server errors (500).
Automated image labeling transforms unstructured visual content into structured, searchable metadata with a single API call. Whether you are building a media library, populating an e-commerce catalog, generating accessibility descriptions, or filtering user-generated content, the Label Image API gives you the labels and confidence scores you need to make every image in your system discoverable and actionable. Head over to the API page to grab your key and start tagging your first batch of images today.
Frequently Asked Questions
- What is an image labeling API?
- An image labeling API analyzes photos and returns descriptive tags (labels) for what it sees - such as 'beach', 'sunset', 'dog', or 'food'. Each label comes with a confidence score. This enables automated photo categorization, content tagging, and searchable image libraries without manual effort.
- How many labels can an AI detect per image?
- The API typically returns 5 to 20 labels per image, ranked by confidence score. A photo of a park might return labels like 'park', 'tree', 'grass', 'bench', 'sky', 'person', and 'dog'. You can filter results by setting a minimum confidence threshold.
- What is the difference between image labeling and object detection?
- Image labeling assigns descriptive tags to the entire image (e.g., 'outdoor', 'nature', 'sunset'). Object detection goes further by locating specific objects and drawing bounding boxes around them. Use labeling for categorization and search; use object detection when you need to know where objects are.