This tutorial uses the Image Generation API. See the docs, live demo, and pricing.
Generative AI has transformed the way we create visual content. Instead of hiring an illustrator or searching stock photo libraries for hours, you can describe what you want in plain English and receive a unique image seconds later. An AI image generation API puts this power directly into your application, no GPU cluster needed. In this tutorial you will learn how to call the API from cURL, Python, and JavaScript, see real output, and explore practical use cases you can ship today.
Why Use an AI Image Generation API?
Running a diffusion model locally demands serious hardware — at minimum a modern GPU with 8 GB of VRAM, plus the time to download multi-gigabyte model weights and manage Python dependencies. A hosted AI image generation API abstracts all of that behind a single HTTP endpoint. Here is what you gain:
- No GPU required — Generate images from any device, including a Raspberry Pi or a serverless function, because the heavy lifting happens in the cloud.
- Prompt-to-image in seconds — Send a text prompt and receive a high-resolution image, typically in two to ten seconds depending on complexity.
- Inpainting and editing — Beyond full-image generation, the API supports inpainting — modifying specific regions of an existing image while preserving the rest.
- Consistent availability — The cloud provider handles uptime, scaling, and model updates so you can focus on your product instead of infrastructure.
Getting Started with the Image Generation API
The Image Generation API accepts a text prompt (and optionally a source image for inpainting) and returns a generated image. Let's walk through integration code.
cURL
Start with a quick command-line test to confirm everything works:
curl --request POST \
  --url https://imagegenius-ai.p.rapidapi.com/generate-image \
  --header 'Content-Type: application/x-www-form-urlencoded' \
  --header 'x-rapidapi-host: imagegenius-ai.p.rapidapi.com' \
  --header 'x-rapidapi-key: YOUR_API_KEY' \
  --data-urlencode 'prompt=A futuristic cityscape at sunset, cyberpunk style, highly detailed' \
  --data-urlencode 'size=1024x1024'
Python
A concise Python script that generates an image and saves it to disk:
import requests

url = "https://imagegenius-ai.p.rapidapi.com/generate-image"
headers = {
    "Content-Type": "application/x-www-form-urlencoded",
    "x-rapidapi-host": "imagegenius-ai.p.rapidapi.com",
    "x-rapidapi-key": "YOUR_API_KEY",
}
payload = {
    "prompt": "A futuristic cityscape at sunset, cyberpunk style, highly detailed",
    "size": "1024x1024",
}

response = requests.post(url, data=payload, headers=headers)
data = response.json()
print(data["body"]["imageUrl"])
JavaScript (fetch)
Here is the equivalent call for a Node.js or browser environment:
const response = await fetch(
  "https://imagegenius-ai.p.rapidapi.com/generate-image",
  {
    method: "POST",
    headers: {
      "Content-Type": "application/x-www-form-urlencoded",
      "x-rapidapi-host": "imagegenius-ai.p.rapidapi.com",
      "x-rapidapi-key": "YOUR_API_KEY",
    },
    body: new URLSearchParams({
      prompt: "A futuristic cityscape at sunset, cyberpunk style, highly detailed",
      size: "1024x1024",
    }),
  }
);

const data = await response.json();
console.log(data.body.imageUrl);
See the Results
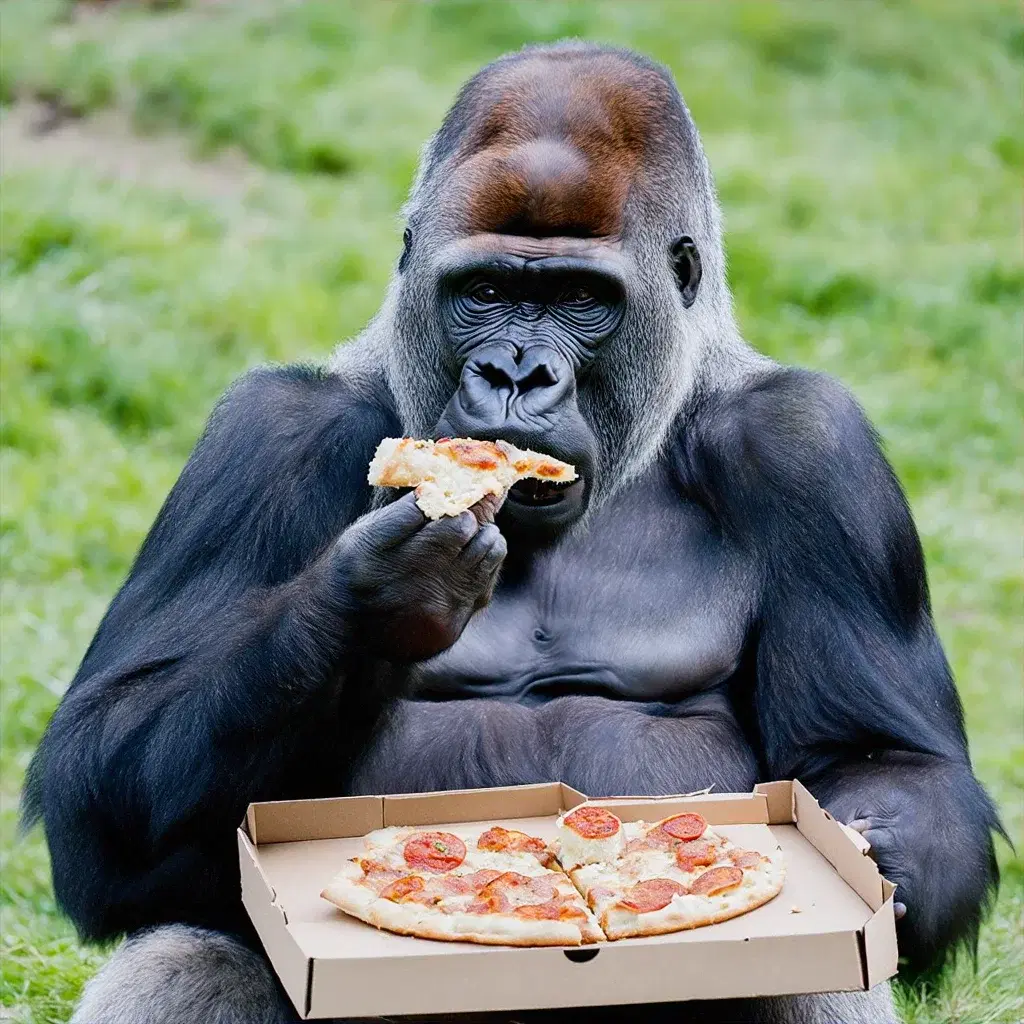
Below is an image generated entirely from a text prompt. No stock photos, no manual editing — just a description and a single API call.

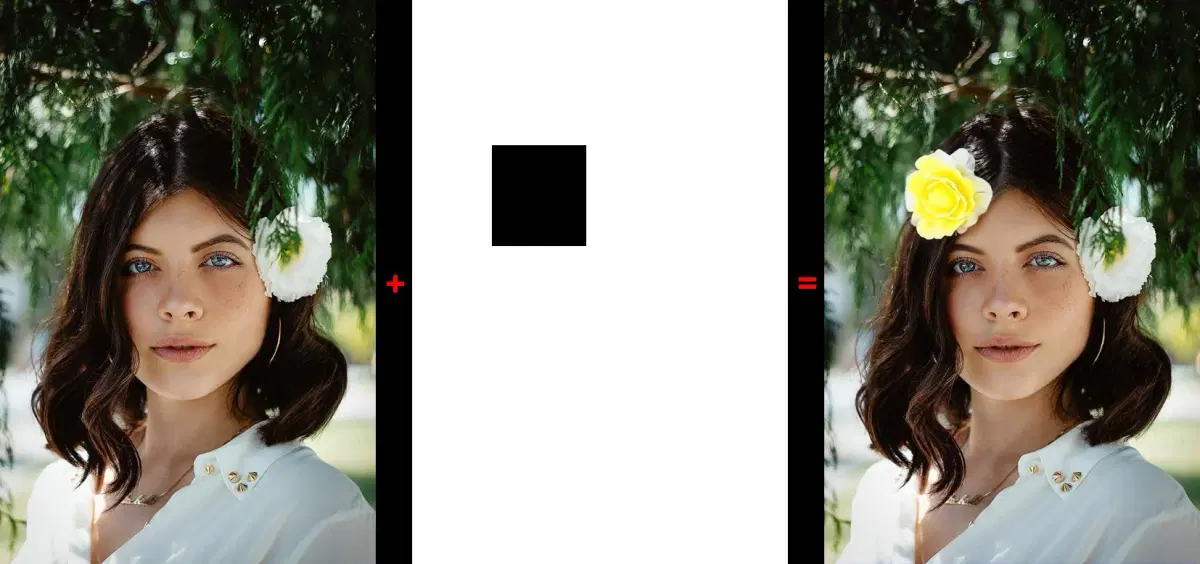
The API also supports inpainting, which lets you mask a portion of an existing image and have the model fill it in based on your prompt. This is incredibly useful for product mockups and creative editing.
Real-World Use Cases
The Image Generation API unlocks creative workflows that were previously impossible or prohibitively expensive:
- Marketing and social media — Generate unique hero images, ad creatives, and social posts on demand. A/B test different visuals without waiting for a designer.
- Game and app prototyping — Quickly produce concept art, textures, and UI mockups during early development to communicate ideas to your team.
- Personalized content — Create customized illustrations for each user, such as storybook pages with their name woven into the scene or personalized greeting cards.
- E-commerce product visualization — Use inpainting to place products into lifestyle scenes, swap backgrounds, or generate color variations from a single photograph.
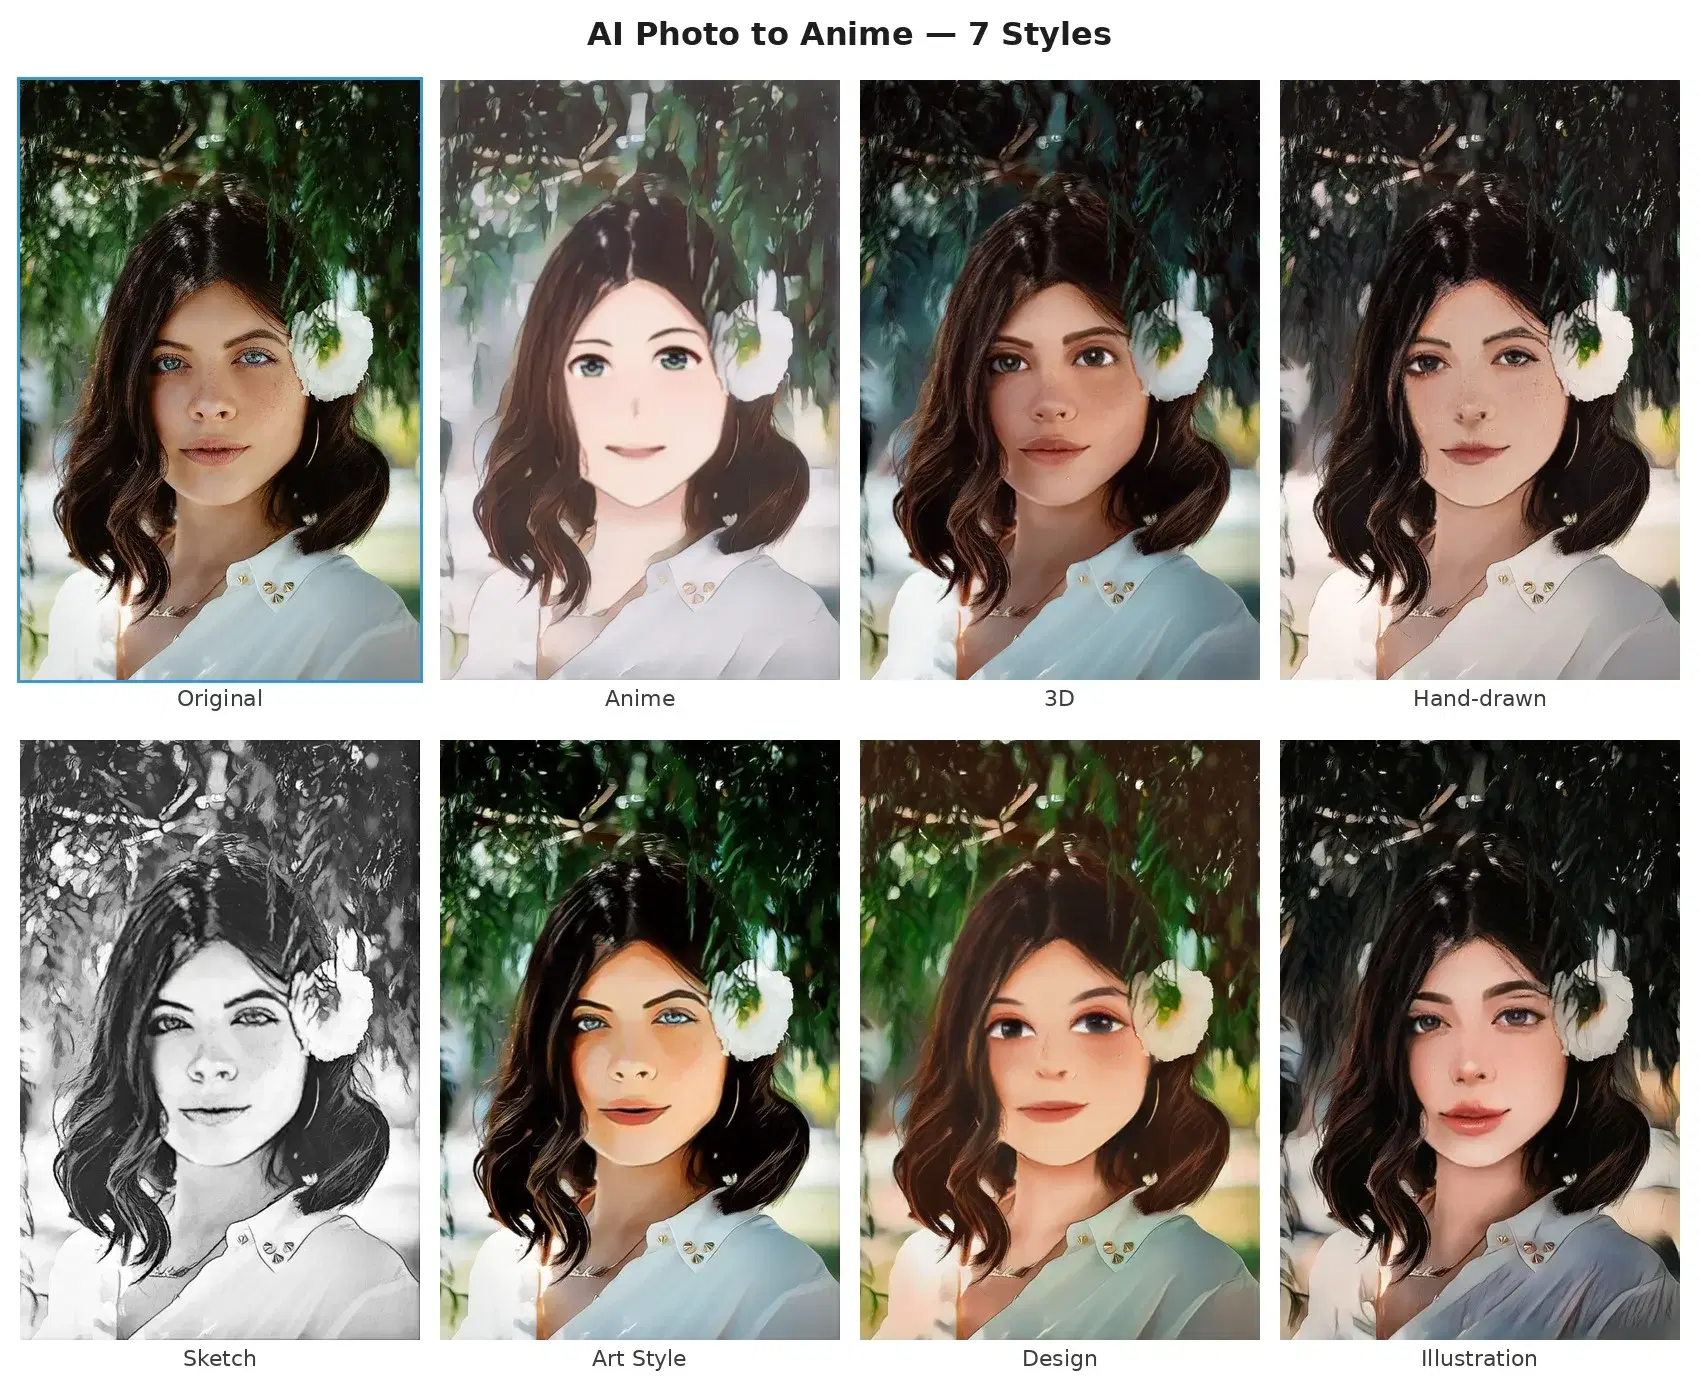
For even more creative possibilities, combine generation with style transfer to produce artwork in specific artistic styles, or explore image colorization to breathe life into black-and-white photographs.
Tips and Best Practices
Getting the best output from a generative image API is part science, part craft. Here are the guidelines that matter most:
- Write descriptive prompts. The more specific you are, the better the result. Instead of "a dog," try "a golden retriever puppy sitting on a sunlit porch, shallow depth of field, warm tones." Details like lighting, style, and composition guide the model toward your vision.
- Iterate on negative prompts. If the API supports negative prompts, use them to exclude unwanted elements — for example, "no text, no watermark, no blurry edges." This refines output quality significantly.
- Choose the right resolution. Larger images take longer to generate and cost more per request. Start with a moderate size (512 by 512 or 768 by 768) for drafts, then upscale your favorites.
- Use inpainting for precision edits. Instead of regenerating an entire image to fix one area, mask just the problem region and inpaint. You preserve the parts you like and only change what you do not.
- Cache and version your outputs. Generated images are not deterministic across calls (even with the same prompt), so save every result you like. Store prompts alongside images so you can reproduce or refine them later.
AI image generation has moved from a research curiosity to a production-ready tool. With the Image Generation API, you can integrate text-to-image and inpainting capabilities into any application in minutes. Whether you are building a creative suite, automating content production, or just exploring what generative AI can do, this API gives you a powerful starting point. Write a prompt, send a request, and let the model do the rest.
Frequently Asked Questions
- What is an AI image generation API?
- An AI image generation API is a cloud service that creates images from text prompts. You send a text description via HTTP and receive a generated image. It uses diffusion models trained on millions of images to produce photorealistic or artistic visuals without requiring a local GPU.
- Can I use AI-generated images for commercial projects?
- Yes, most AI image generation APIs grant commercial usage rights for the images you generate. Check the specific API terms of service to confirm. Generated images are unique and not copies of existing works, making them suitable for marketing, product mockups, and content creation.
- What is inpainting in AI image generation?
- Inpainting lets you modify specific regions of an existing image using AI. You provide the original image, a mask indicating the area to change, and a text prompt describing what to generate in that area. This is useful for removing objects, changing backgrounds, or adding elements to photos.